That chalky, flat look on the bonnet or roof is more than a cosmetic annoyance. Oxidation makes a vehicle look older, dulls the colour and can leave the paint less protected from the harsh sun. Knowing how to polish oxidised paint can bring back impressive gloss, but only if there is still enough healthy clear coat left to work with.
A careful polish removes a very fine layer of damaged paint surface to reveal clearer, richer paint beneath. Push too hard, use the wrong pad or keep polishing an already failing panel, however, and a straightforward refresh can turn into a repainting job. The best result comes from assessing first, correcting gently, then protecting the finish properly.
What oxidised paint actually looks like
Automotive paint is usually built in layers: primer, colour coat and a clear coat on top. UV exposure, heat, road grime and neglected washing gradually break down that top layer. The finish loses clarity, feels rough or dry, and may look milky on dark colours or faded on reds, blues and metallics.
Mild oxidation often responds very well to a cut and polish. You may notice the colour improves dramatically after washing, but still looks hazy in direct sunlight. Moderate oxidation can feel dull and chalky, with noticeable fading across horizontal panels such as the roof, bonnet and boot.
The important distinction is between oxidation and clear-coat failure. If the surface is peeling, flaking, bubbling, cracking like dry mud, or showing white patches that do not improve when wet, polishing will not fix it. Those signs usually mean the clear coat has broken down through its thickness. The lasting repair is preparation and repainting, not more compound.
Check the paint before you polish
Start with a proper wash rather than judging the paint through dust and traffic film. Use a pH-neutral car wash, clean water and a soft wash mitt. Avoid washing-up liquid, stiff brushes and household cleaners, which can strip protection and add scratches.
Once the car is clean and dry, inspect it outdoors and under a bright workshop light. Look closely at the bonnet, roof, tops of guards and boot lid, as these areas receive the most UV exposure. Rub a clean microfibre cloth across the panel. A rough feel can indicate bonded contamination as well as oxidation.
If possible, test a small, inconspicuous area first. Use a mild polish by hand with a foam applicator. If the paint brightens evenly, that is encouraging. If colour transfers heavily onto the pad on a modern clear-coated vehicle, or the panel remains patchy and dull, stop and get it assessed. Older single-stage paint can transfer colour during polishing, but it still needs a cautious approach.
A professional workshop can measure paint depth before machine correction. That matters on vehicles with previous repairs, thin factory paint or unknown paint history. Paint can look healthy while having very little clear coat left to safely remove.
Prepare properly for a cleaner finish
Polishing over dirt is like rubbing sandpaper over the panel. Preparation takes time, but it prevents fresh swirl marks and gives the polish an even surface to work on.
You will need a quality car shampoo, microfibre wash mitts and drying towels, a clay bar or synthetic clay treatment with lubricant, a mild finishing polish or compound, foam applicators or machine pads, and a durable paint sealant, wax or ceramic spray protection.
After washing and drying, decontaminate the panel if it feels gritty. A clay treatment lifts embedded fallout, tree sap residue and industrial grime that washing leaves behind. Keep the surface well lubricated and use light pressure. Then dry the car again and mask rubber trims, badges, sharp body lines and unpainted plastics. Polish residue can stain porous trim and machine pads can catch an exposed edge.
Work in the shade on cool paint. A hot bonnet causes product to dry too quickly and makes it harder to see the true finish. It can also increase the chance of marring the paint while you work.
How to polish oxidised paint by hand
Hand polishing is the safer option for mild oxidation, smaller panels and anyone new to paint correction. It is slower than using a machine, but gives you more control around edges and body contours.
Apply a small amount of mild polish to a clean foam applicator. Work one small section at a time, roughly 40 cm by 40 cm. Use overlapping straight passes with light to moderate pressure, rather than hard circular rubbing. Keep the applicator flat and do not concentrate on raised lines, panel edges or corners.
Work the product until it begins to turn clear or thin, following the instructions on the bottle. Wipe away residue with a fresh microfibre towel, then inspect the section from several angles. If the oxidation has improved but not fully cleared, repeat once before stepping up to a more abrasive product.
Patience pays off here. Reaching for a heavy cutting compound too soon may produce quick shine, but it removes more clear coat and can leave haze or fine scratches that need further polishing. Start with the least aggressive method that delivers a visible improvement.
Using a machine polisher safely
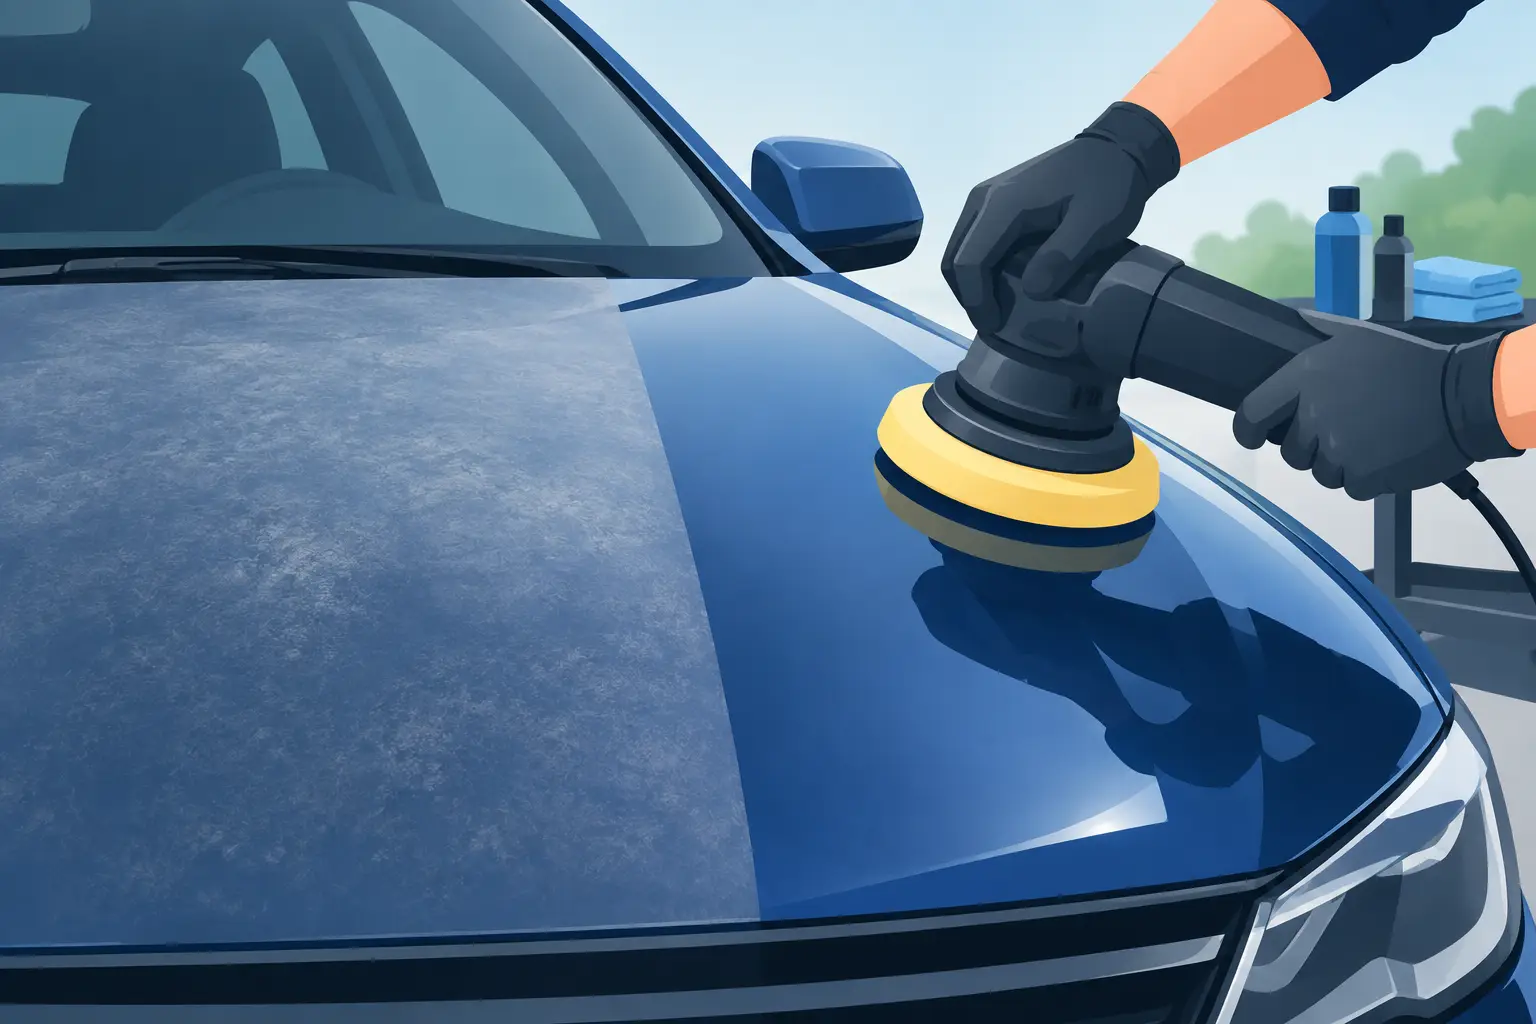
A dual-action machine polisher is usually the best choice for moderate oxidation across larger areas. Its random orbital movement is far more forgiving than a rotary buffer and can produce a clear, even finish when used correctly. It is still a tool that needs respect.
Choose a light-cut foam pad with a medium polish for the first test spot. Prime the pad lightly, add a few small drops of product and spread it over the paint before switching the machine on. Work a section no larger than about 50 cm by 50 cm, keeping the pad flat and moving steadily with overlapping passes.
Let the pad and polish do the work. Heavy pressure, excessive speed and lingering in one place build heat quickly, particularly on dark paint and curved panels. Avoid edges, creases, door handles and repaired sections until you are confident with the machine. Clean the pad regularly, as a clogged pad cuts inconsistently and can put haze back into the finish.
After each section, wipe the residue away and inspect it in strong light. A panel can look glossy in the shade while still showing swirl marks in the sun. If a stronger compound is genuinely needed, follow it with a finer finishing polish to restore clarity.
Protect the paint once the gloss returns
Polishing improves the appearance, but it does not protect bare, freshly corrected paint for long. Once you have removed the oxidation, apply a quality sealant, wax or ceramic spray product. The right choice depends on your budget, how the vehicle is stored and how much maintenance you are willing to do.
A spray ceramic product is quick and practical for regular top-ups. A traditional wax can add warmth and depth, especially on darker colours, but generally needs more frequent reapplication. A professional-grade coating offers longer protection when the paint is properly corrected and prepared, though it will not hide failed clear coat or deep defects.
For the finish to stay sharp, wash regularly with car-safe products, dry with clean microfibre towels and avoid automatic brush washes. Parking under cover where possible makes a real difference on vehicles that spend long hours outside. UV damage builds gradually, so consistent protection is far cheaper than repeated heavy polishing.
When polishing is not the right repair
Do not keep chasing shine if you can see peeling clear coat, exposed primer, rust bubbles, deep scratches that catch a fingernail or uneven patches from an old repair. Polishing cannot replace missing paint, repair corrosion or blend mismatched colour. In some cases, it can make the damaged areas more obvious by restoring gloss around them.
This is where an honest inspection saves money. A skilled refinishing team can advise whether a light cut and polish will revive the panel, whether a local repair is suitable, or whether the vehicle needs a proper repaint for a durable result. At Fast Panel & Paint, the aim is not to sell more work than a car needs. It is to give you a finish that looks right now and holds up on the road.
If your paint is dull but intact, start gently and let a small test area guide the job. If the surface is failing, protect the vehicle from further weathering and arrange a professional assessment before the damage spreads.