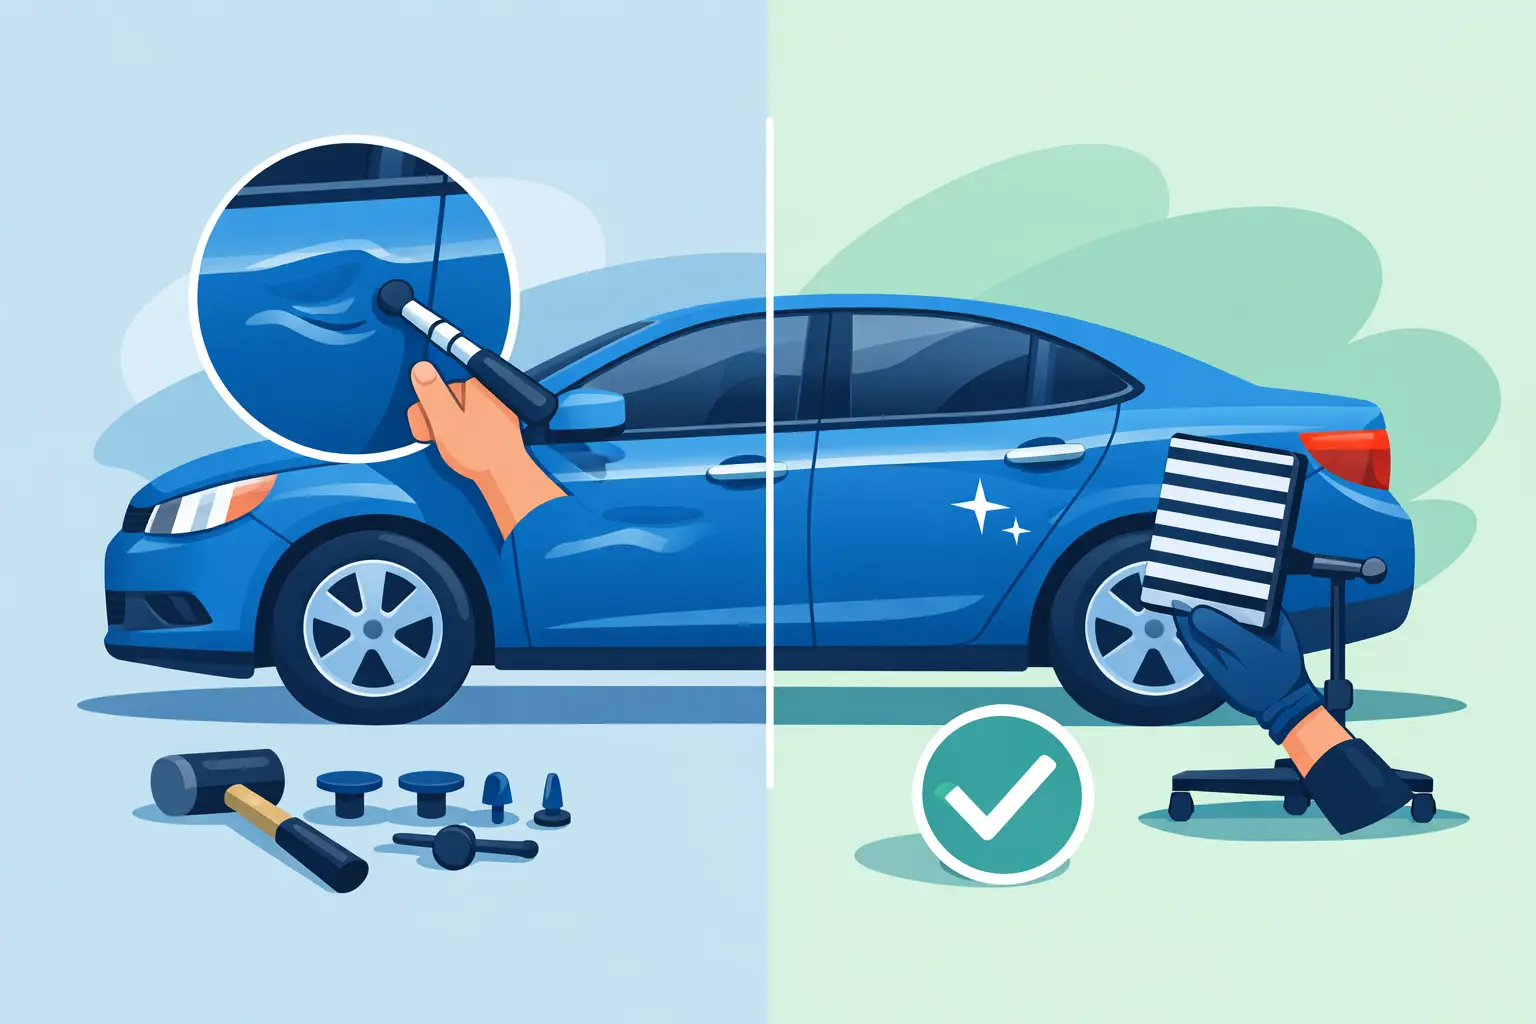
Rust around a wheel arch can look like a small blister in the paint, then turn into a hole that spreads along the guard, sill or inner wheel housing. This rusted wheel arch repair example shows why a proper result involves more than sanding back the visible damage and applying paint over the top. The finish matters, but what sits underneath it is what decides whether the repair lasts.
For everyday cars, family SUVs, work utes and older favourites, wheel arch rust is a common issue. Road grime, stone chips, trapped moisture and damaged underseal all create an opening for corrosion. The good news is that a skilled repair can restore the panel properly, protect the surrounding metal and bring the vehicle back to a clean, tidy standard.
A rusted wheel arch repair example from assessment to paint
Picture a vehicle with rust bubbling above the rear tyre. From the outside, the affected patch is about the size of a hand. Once the wheel is removed and the inner liner is inspected, the damage tells a different story: moisture has sat behind the lip of the arch, and corrosion has worked through the outer skin in two places.
A quick cosmetic fix might involve grinding the bubbles, applying filler and repainting the area. It can look acceptable for a short time, particularly from a few metres away. But if corroded steel remains at the edge of the repair, or the inside of the arch is not sealed, rust can return beneath the new paint.
A lasting repair starts by identifying the full extent of the problem. That means checking the outer guard, arch lip, inner wheel housing, sill area and any joining seams. We also look for previous repairs, trapped dirt, loose seam sealer and evidence of moisture entering from behind the panel. The visible rust is often only part of the job.
Step one: Remove the damaged metal
The affected area is stripped back to bare steel so the repairer can see sound metal around the corrosion. The rusted section is then cut out completely. This is the point where workmanship makes a real difference. Leaving thin, pitted metal behind to save time may make the repair easier, but it compromises the result.
The cut needs to extend far enough into solid steel to provide a stable base for the replacement section. On some vehicles, a quality repair panel is available for the wheel arch. On others, especially older or less common models, a section may need to be shaped by hand to match the original curve and body line.
Step two: Shape and weld a replacement section
A repair patch is carefully formed, test-fitted and adjusted until the gaps are consistent. The aim is not to force a flat piece of metal into a curved panel. It needs to follow the arch profile, sit naturally against the surrounding bodywork and allow the repaired area to retain its original shape.
The new section is welded into place in controlled stages to limit heat distortion. Too much heat in one spot can warp the panel, creating extra work and affecting the final finish. Once welded, the join is dressed back neatly and checked for alignment.
Where rust has reached both the outer skin and the inner arch, both areas need attention. Repairing only the visible outer panel while ignoring damage behind it is a false economy. The inner section must be repaired or treated, then sealed so moisture cannot continue working its way into the new metal.
Step three: Protect the repair from both sides
This is the stage that separates a repair that looks good today from one built for real road use. Bare metal is treated and protected, weld areas are primed, and the rear of the panel receives corrosion protection before it is closed up.
Seam sealer is applied to factory-style joins and wheel arch edges to keep out water, dust and road spray. The underside is then protected with an appropriate underbody coating, while enclosed areas can receive cavity wax. These materials matter because wheel arches live in a harsh environment. They cop stones, wet roads, mud and grime every day.
The exact protection system depends on the vehicle and where the repair sits. A vehicle used mainly around town faces different conditions to a ute that regularly travels on gravel roads or spends weekends near the coast. Either way, skipping the back-of-panel protection is not the place to cut costs.
Step four: Prepare the surface and match the paint
With the metalwork complete, the outer repair is refined using the minimum material needed to restore the panel’s contour. It is then primed, block-sanded and prepared for colour. Careful preparation is what gives the repaired wheel arch a straight, factory-like appearance once the paint goes on.
Colour matching is more involved than simply reading the paint code. Sun exposure, age, previous repairs and paint fading can all change how a vehicle’s original colour looks. A professional refinisher checks the shade, adjusts where necessary and blends colour into the adjoining panel when that is the best way to avoid an obvious edge.
Clear coat is applied to restore gloss and protection, then the finish is cured, inspected and polished if required. The goal is a repair that does not draw attention for the wrong reasons. From normal viewing distance, the wheel arch should look clean, straight and consistent with the rest of the vehicle.
Why wheel arch rust comes back after a cheap repair
Rust is an active problem, not just a stain on the paint. Once corrosion has created pits or perforations in steel, sanding the surface alone rarely removes it all. Moisture can remain inside seams, behind the arch lip or beneath old sealer, then continue spreading out of sight.
Poor preparation can also cause a fresh paint repair to fail early. Common shortcuts include painting over pitted steel, using filler to bridge holes, failing to seal the inner arch, or applying underbody coating over loose rust. The car may look better temporarily, but the corrosion has not been stopped.
There is a trade-off to consider. If rust is caught while it is still a small surface issue, treatment and refinishing may be enough. Once there is bubbling, soft metal or a hole, cutting and welding is generally the honest repair. It costs more upfront, but it avoids paying twice for a patch that fails.
What affects the cost and turnaround time?
There is no reliable one-price answer for wheel arch rust repairs because the visible area does not always show the full extent of corrosion. A small bubble on a front guard may be relatively straightforward. Rust along a rear arch that extends into the sill, quarter panel or inner structure requires more labour and more careful protection.
The make and model also matter. Availability of repair panels, access behind the damaged area, paint colour, previous repairs and whether both sides are affected can all change the scope. Metallic and pearl colours may require more extensive blending to maintain an even finish.
A clear quote should explain what is included: metal removal and welding where required, corrosion protection, panel preparation, paintwork and any necessary blending. If there is a possibility of hidden rust being found after stripping the panel, that should be discussed before work begins rather than appearing as a surprise later.
At Fast Panel & Paint, the focus is on showing customers what the panel needs, explaining the repair path in plain language and delivering a finish worth being proud of. That approach is especially valuable with rust work, where the right repair is often hidden behind the painted surface.
Keeping repaired wheel arches in good condition
After the repair, regular washing is one of the simplest ways to protect it. Pay attention to the lower body, wheel arches and inside the arch lip, particularly after wet weather, beach trips or driving on unsealed roads. Built-up mud holds moisture against the paint and underseal.
If paint is chipped by a stone, deal with it early. A small touch-up can prevent water reaching bare metal. It is also worth having damaged wheel-arch liners, loose mud flaps and cracked seam sealer checked, as these can direct water and debris into places they should not be.
A rusted wheel arch does not have to become the reason to write off an otherwise reliable vehicle. Get it assessed while the damage is contained, choose a repair that removes the corrosion rather than hiding it, and give the new finish the protection it needs to keep doing its job.