A scrape along the door after a tight car park, a mark near the boot from loading groceries, or fine lines left by an enthusiastic wash can make an otherwise tidy car look tired. Knowing how to remove light car scratches starts with one honest question: is it actually a scratch in the paint, or simply paint transfer and surface marking sitting on top of it?
The difference matters. A light clear-coat scratch can often be improved at home with the right products and a careful hand. A deeper mark needs a different repair process to protect the panel and keep the finish looking even. Rushing in with harsh compound, sandpaper or a random household remedy can turn a small job into a costly repaint.
First, work out how deep the scratch is
Modern vehicle paint is usually made up of several layers: primer, colour coat and clear coat. Most light scratches only affect the clear coat, the glossy protective layer on top. These are the best candidates for polishing.
Clean the marked area first, then inspect it in good light. Run a clean fingernail gently across the mark. If your nail does not catch, it is commonly a shallow clear-coat scratch or scuff. If it catches noticeably, the damage may be through the clear coat and into the colour layer.
A white, red or coloured smear can also be paint transfer from another vehicle, a post, a trolley or a garage wall. It may look serious, but it can often lift away without any paintwork required. On the other hand, if you can see grey primer, bare metal or plastic beneath the paint, stop treating it as a light scratch. That area needs proper repair, particularly on steel panels where exposed metal can start to rust.
What you need to remove light car scratches
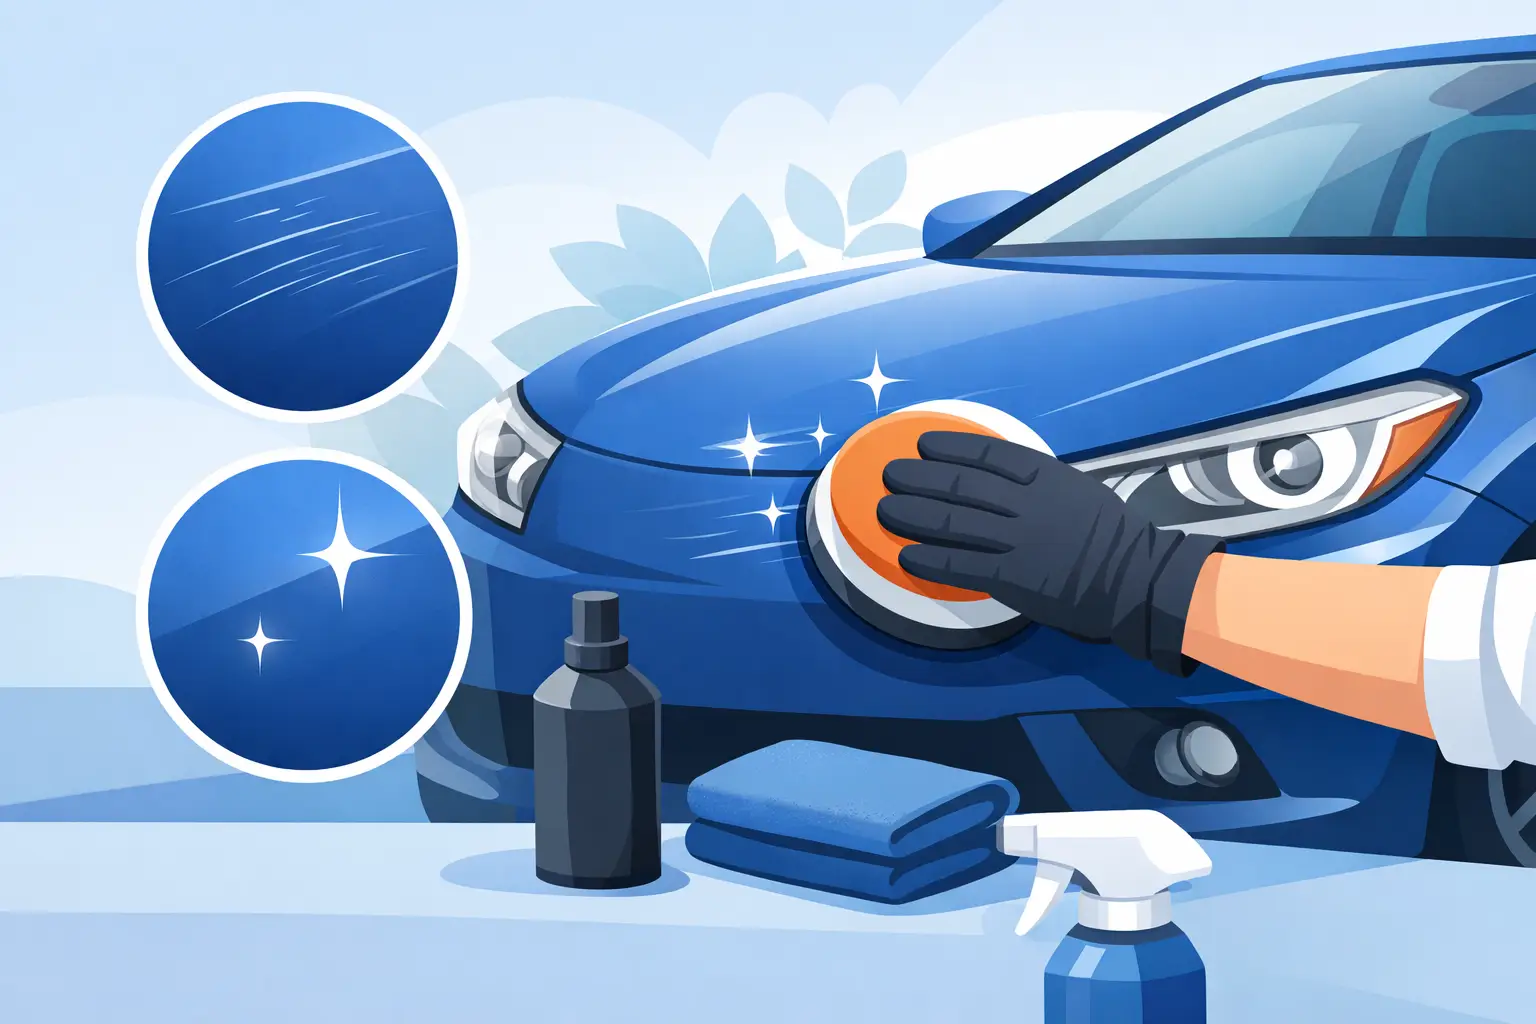
For a genuine light surface scratch, keep the job simple. You will need a pH-neutral car wash, clean microfibre cloths, a quality scratch remover or fine-cut polishing compound, an applicator pad, and a finishing wax or paint sealant.
Avoid using old rags, kitchen sponges or anything that has been sitting in the shed collecting grit. A single bit of dirt caught in a cloth can create more scratches while you are trying to remove them. Work in the shade on a cool panel, not in direct sun. Heat dries products too quickly and makes it harder to see your progress.
How to remove light car scratches at home
Start by washing the full area around the scratch, not just the damaged line. Rinse away loose dust and road grime, wash with proper car shampoo, then dry using a clean microfibre towel. Polishing over dirt is one of the quickest ways to add swirl marks.
Apply a small amount of scratch remover or polish to your applicator pad. Work it over the scratch with light to moderate pressure in small, controlled overlapping motions. There is no need to attack the panel. Fine polish works by levelling an extremely small amount of damaged clear coat, so patience gives a better result than pressure.
Wipe away the residue with a fresh microfibre cloth and inspect the finish from a few angles. If the mark is fading, repeat once or twice as directed by the product label. Do not keep going until the product is gone or the panel feels hot. Clear coat is finite, and repeated aggressive polishing can reduce its protection and leave uneven gloss.
Once you are happy with the improvement, apply a wax or paint sealant. This will not fill a deep scratch permanently, but it adds protection and helps the repaired area match the surrounding shine. Expect a light scratch to look significantly better, rather than assume every mark will disappear completely. A clean, glossy finish often makes the remaining line hard to notice.
Paint transfer needs a gentler approach
If the mark looks like another object’s paint sitting on your panel, try washing it first. If it remains, use a dedicated tar and adhesive remover or a mild paint cleaner on a microfibre cloth. Test it on a small hidden area, follow the product instructions and use minimal pressure.
After the transfer has lifted, assess what is underneath. Often there is only a faint scuff that a light polish can improve. If the original paint has been chipped or torn, however, polishing will not restore missing colour.
When DIY products are the wrong move
DIY scratch removal is useful for minor clear-coat damage, but it has limits. Do not use a heavy cutting compound on a new or unfamiliar vehicle just because a scratch is visible. Factory paint thickness varies, panels may have been repainted before, and darker colours show polishing haze more easily than lighter finishes.
Be especially cautious with these situations:
- A scratch catches your fingernail or has sharp edges.
- You can see primer, metal or black plastic.
- The damage covers a large section of the panel.
- The panel has dents, creases or cracked paint around the scratch.
- The scratch is on a bumper corner, body line or near a sensor.
- The vehicle has matte, satin, wrapped or ceramic-coated paint.
Matte and satin finishes should not be conventionally polished, as polishing can create shiny patches. Plastic bumpers can flex, split or show damage beneath the surface, while modern sensors and cameras need careful handling. In these cases, an experienced panel and paint technician can identify the right repair before any permanent damage is done.
Why touch-up paint is not always the answer
A touch-up pen sounds like an easy fix, and it can help protect a small stone chip from moisture. But it is rarely invisible when used on a long scratch. The colour may be close but not exact, especially on metallic or pearl paint, and excess touch-up can leave a raised line that stands out in sunlight.
For a tiny chip, clean the spot thoroughly, apply very small amounts of correctly matched paint and allow proper drying time. For a long key scratch or damage through the colour coat, a professional repair will usually look cleaner and last longer. Depending on the panel and paint condition, this may involve colour matching, localised refinishing and blending rather than repainting more of the vehicle than necessary.
Common shortcuts that can make scratches worse
Toothpaste, abrasive kitchen cleaners and rough cloths are often promoted as quick fixes. They may temporarily dull the edges of a mark, but they are not designed for automotive clear coat. The result can be cloudy paint, inconsistent gloss or fresh swirl marks that are more noticeable than the original scratch.
Wet sanding is another technique best left for controlled repair work. It can be effective in trained hands, but it removes paint quickly and requires the right grit, lubrication, paint-depth awareness and machine polishing afterwards. On a clear coat that is already thin, one mistake can expose the colour layer.
A machine polisher also has a learning curve. Used correctly, it can produce an excellent finish. Used with too much speed, pressure or the wrong pad, it can burn edges and leave holograms in the paint. For one light mark, hand polishing is the safer starting point.
Protect the paint after the repair
The best scratch repair is the one you do not have to repeat. Use clean wash mitts, rinse away loose grit before touching the paint and dry with quality microfibre towels. Avoid automatic brush washes where possible, as worn brushes can leave fine circular marks across clear coat.
Park with a little extra space where you can, particularly at busy shopping centres. Be careful with bags, prams, tools and sports gear around door edges and the boot lip. A regular wax or sealant will not make paint scratch-proof, but it does create a sacrificial layer that makes cleaning easier and helps preserve gloss.
If a scratch still catches the eye after a careful polish, do not keep chasing it with more abrasive product. A proper assessment can save you from thinning good paint for a result that will never be even. At Fast Panel & Paint, the focus is on the repair that makes sense for your vehicle – from a clean buff and polish through to colour-matched refinishing when the damage needs more than a quick fix. Your car does not need guesswork; it needs a finish you can feel proud of every time you walk back to it.