That low concrete parking stop looked harmless enough until you heard the scrape. Now the bumper is marked, the paint is dull or gouged, and every time you walk up to the car your eye goes straight to it. If you are weighing up the best ways to repair bumper scuffs, the right fix depends on one thing above all – how deep the damage really is.
Some bumper scuffs are only surface marks sitting in transferred paint or clear coat. Others cut through the paint, rough up the plastic, or leave the bumper slightly distorted. The good news is that many scuffs can be repaired cleanly. The catch is that not every quick fix gives a result that lasts, and some DIY attempts make professional repair harder later on.
The best ways to repair bumper scuffs start with the damage level
A bumper is designed to take minor knocks, but the finish on it is still a painted surface. That means a light scuff from a trolley, another car door, or a tight garage wall can look worse than it is. Before buying touch-up products or reaching for polish, inspect the area in good daylight and run a clean finger over it.
If the mark feels smooth and looks like another object’s paint has rubbed onto your bumper, you may only be dealing with surface transfer. If it feels rough, catches your fingernail, or shows black plastic beneath the paint, the scuff is deeper. Cracks, splits, loose bumper corners, or dents are a different category again and usually need workshop repair rather than a cosmetic tidy-up.
When a scuff is only surface deep
Light surface scuffs are the simplest to sort out. In many cases, a careful wash followed by a mild cutting compound or polish can remove transferred paint and reduce the visibility of shallow clear coat marks. This works best when the bumper’s colour coat is still intact.
The main trade-off is that polishing only fixes what sits on or near the top of the finish. If the bumper has been cut through, polish will not replace missing paint. Used too aggressively, it can also thin the surrounding clear coat and leave a patch that looks cleaner but flatter than the rest of the panel.
When the paint is broken
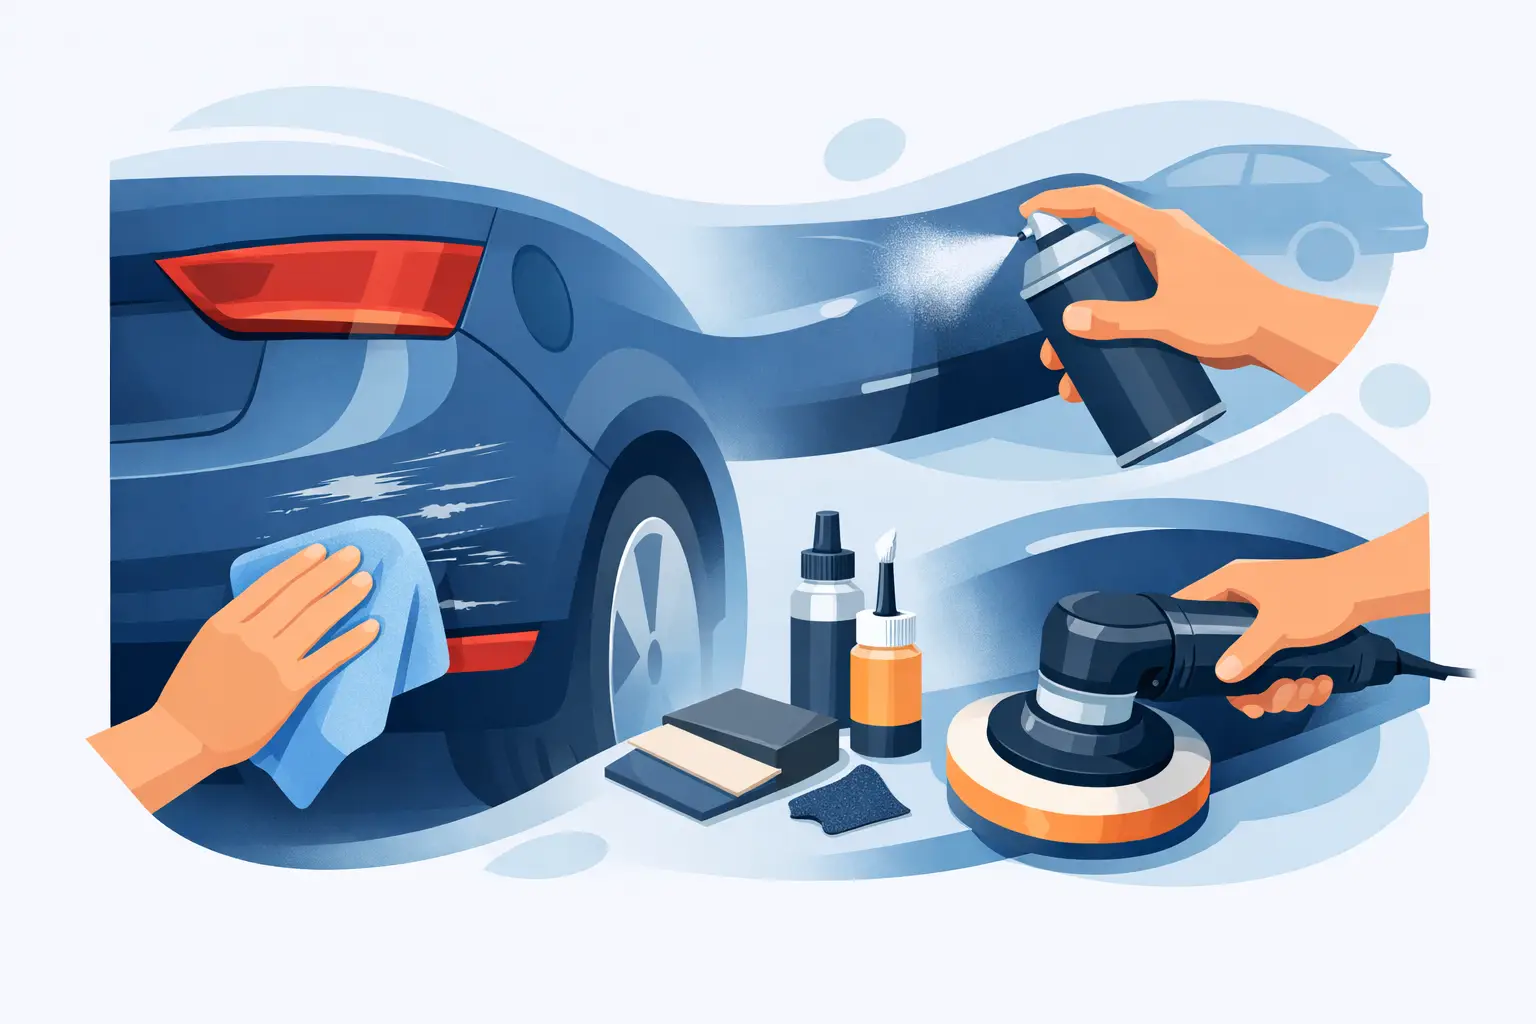
Once the scuff has gone through the paint, the repair becomes more involved. A proper result usually means sanding the damaged area, smoothing the edges, applying primer where needed, repainting, and blending for an even finish. On modern bumpers, colour match matters. Plastic and metal panels can reflect paint differently, so a rushed spot job can stand out even if the paint code is technically correct.
That is why small damage sometimes needs a more careful repair than people expect. The scuff may be minor, but if it sits on a visible corner or across a body line, poor prep and poor matching will be obvious.
DIY bumper scuff repair can work, but only in the right cases
For car owners trying to keep costs sensible, DIY can be worth considering on very light cosmetic marks. Washing the area properly, using a microfibre cloth, and trying a gentle polish is a reasonable first step. If the transferred paint lifts and the bumper returns to a smooth, even gloss, you may not need anything more.
Touch-up paint has its place too, especially on tiny chips within a scuffed area. But expectations need to be realistic. A touch-up can protect exposed spots and make damage less noticeable from a distance. It rarely recreates a factory-smooth finish on a bumper face, particularly where the scuff is long, wide, or on curved plastic.
A common mistake is going too hard with sandpaper, using a generic paint that is close enough, or applying clear coat without proper prep. That often leaves a repair that looks patchy, feels uneven, or peels early. If your goal is simply to make an older daily driver look tidier, that may be acceptable. If you want the repair to disappear, DIY usually has limits.
Professional bumper scuff repairs deliver a better finish
The best professional repairs are not just about repainting a damaged spot. They are about getting the bumper surface flat again, restoring the paint layers properly, and matching the surrounding finish so the repair does not shout at you every time the light hits it.
A workshop will usually begin by cleaning and assessing the bumper, then sanding the damaged area to remove loose paint and feather the edges. If the plastic is gouged, specialised fillers or plastic repair materials may be used to rebuild the surface. From there, the bumper is primed, prepared, colour matched, painted, and finished to restore gloss and consistency.
For deeper scuffs or bumper corner damage, plastic welding may also be part of the repair. This matters when a scrape has done more than mark the paint and has actually damaged the bumper skin itself. In that case, simply painting over the problem is not enough.
The benefit of professional repair is durability as much as appearance. OEM-approved materials, correct prep, and proper curing all help the finish hold up better against weather, washing, and everyday use. That is particularly important for family cars, work vehicles, and commuters that do not have the luxury of being parked up and pampered.
What affects the repair cost?
Bumper scuff repair costs vary because not all scuffs are equal. A light machine polish on a small transferred mark is a very different job from repairing gouged plastic and repainting a large bumper section.
Size is one factor. So is depth. Colour also matters more than many people realise. Solid whites and blacks can be more straightforward than metallics, pearls, or colours that show blend differences easily. The location of the scuff matters too. Damage across edges, body contours, parking sensor areas, or textured trims takes more time to repair neatly.
Then there is the existing condition of the bumper. If previous repairs are already failing, or the paint around the scuff is peeling, the repair scope can grow. Honest quoting matters here because a proper repair should reflect what the bumper actually needs, not just the smallest possible patch-up.
When it makes sense to skip the quick fix
There are times when trying to save a few dollars upfront costs more later. If the bumper is cracked, pulled out of alignment, or badly scraped down to raw plastic, a cosmetic dab of paint will not solve the issue. The same goes for newer vehicles where a visible mismatch can hurt resale appeal.
It also makes sense to avoid DIY if the scuff is on a prominent front corner or rear bumper edge that catches the light. Those areas are unforgiving. What looks acceptable in the shade can look rough in full sun.
For many drivers around Manukau, the real priority is simple: get it fixed properly, get clear expectations, and get the car back without drama. That is where a repairer with solid paint and bumper experience earns their keep.
Best ways to repair bumper scuffs without making them worse
The smartest approach is to match the repair to the damage. Start by washing the bumper and checking whether the mark is only transferred paint. If it is, a careful polish may be enough. If the paint is scratched through, the plastic is rough, or the bumper is cracked, move past DIY and get it assessed properly.
Avoid harsh scrubbing pads, household cleaners, and random paint products from the shelf just because the label says scratch remover. Some products temporarily mask the mark with fillers or gloss enhancers, then leave you back where you started after a few washes. Others can stain textured trims or create more work for whoever repairs the bumper later.
A proper job is not always the biggest job. Sometimes a localised repair and refinish is all that is needed. Other times the best result comes from repairing and repainting a larger section so the finish looks even. It depends on the scuff, the bumper colour, and how fussy you are about the final look.
At Fast Panel & Paint, that practical approach matters because customers are not paying for guesswork. They want straight advice, quality workmanship, and a finish that looks right when the car leaves the workshop.
A bumper scuff can be minor, but it still changes how your car looks and how you feel about it. If the repair is worth doing, it is worth doing cleanly – not just to cover the mark, but to bring the whole front or rear end back into shape so the car looks cared for again.